Configure security settings
Role: Company Administrator.
You can enable access history and two-factor authentication on users’ accounts as additional security measures.
Steps
- Open the Company Settings page (click
 > Administration sidebar > Company Settings).
 - In the Settings pane on the left expand General and click Security.
- Configure the settings as required, referring to the information below for guidance.
- Click Save.
Set the Post Sign-in Activity
Select the Enabled check box and click Save to allow user activity to be tagged, based on a user’s IP address.
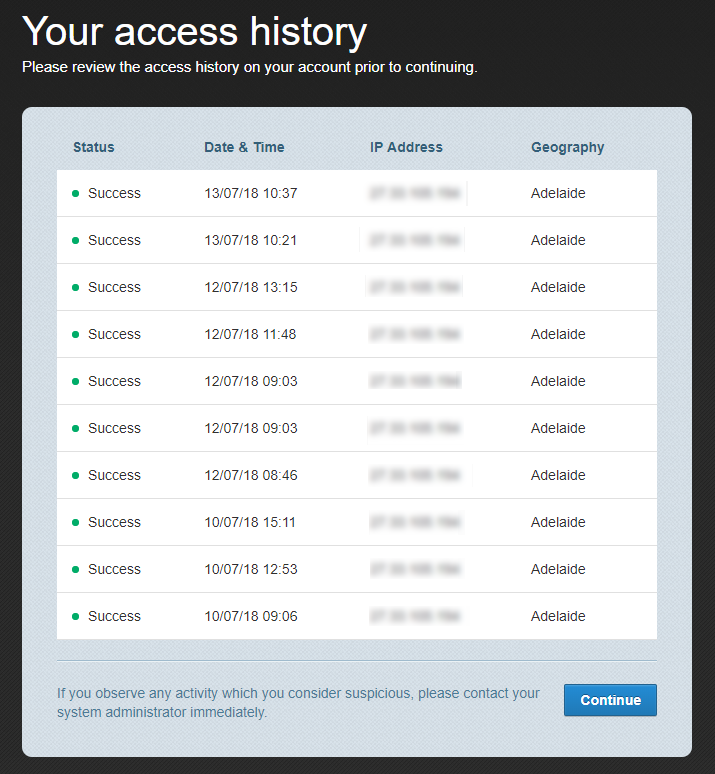
Once this function is enabled, when a user logs in to Whispir, they’re shown the ‘Your access history’ screen. It lists their logins, IP address and location and lets them check for any suspicious attempts to access their account.
Note: Company administrators can view account access information for all users on the Activity Log page. See Use the Activity Log.

Set Two Factor Authentication
Two-factor authentication (2FA) provides an additional layer of security to verifying the identity of users logging in to Whispir.
Select the Enabled check box and click Save to enable two factor authentication.
Notes
When two-factor authentication is enabled, users log in to Whispir as usual and are then prompted to enter a unique security code. The code is immediately sent via SMS to their primary mobile device and they enter the code in the browser to complete the login process.
Important! If a user doesn’t have a primary mobile device registered in their user profile, they won’t be able to complete their authentication and access the Whispir platform.
This functionality only extends to the following areas of Whispir:
- Whispir's primary user interface
- Your company's contact portal.
It’s not available for the following areas of Whispir:
- Any native applications provided by Whispir
- Any interactions via other interfaces, including HTTP API, REST API, SMS-in, Email-in and Whispir Connect.